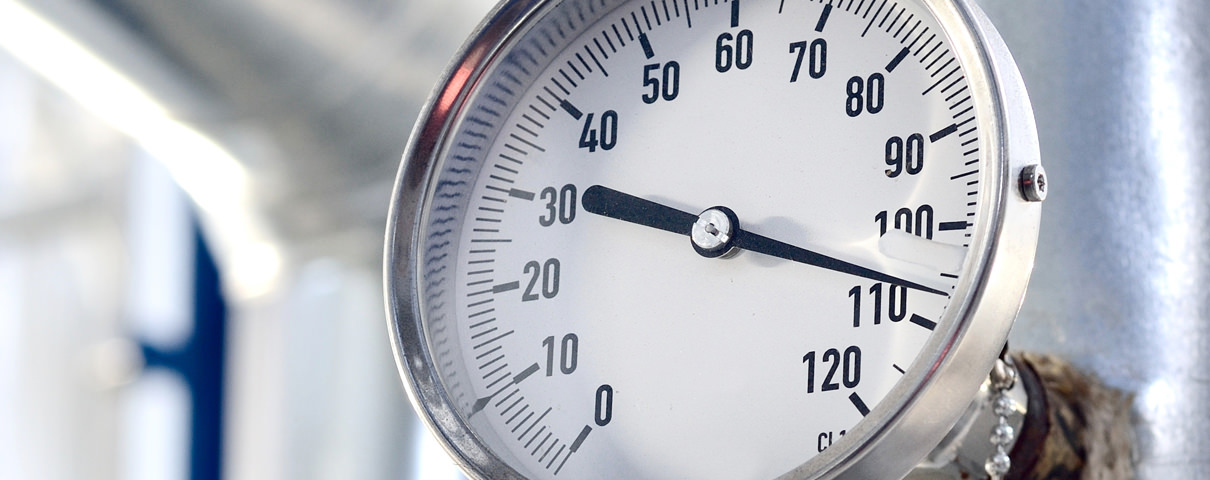
Liquid-filled pressure gauges offer exceptional protection from vibration and shock and are the preferred choice in most high physical stress process environments. When selecting and installing liquid-filled pressure gauges, it’s important to keep a few facts in mind.
First, make sure the gauge is filled with the appropriate liquid for the application. (Glycerin or silicone cannot be used as a liquid fill for gauges in applications where strong oxidizing agents are present.) Second, liquid-filled gauges should be vented to atmosphere to relief internal case pressure prior to use.
Case Venting of Liquid-filled Gauges
Case venting must be done immediately after installation to maintain the accuracy of liquid-filled pressure gauges with full scale ranges of 300 psi or below, including vacuum and compound ranges of 30″ Hg-0-300 psi or below.
Case venting can also be required at periodic intervals, depending on the process.
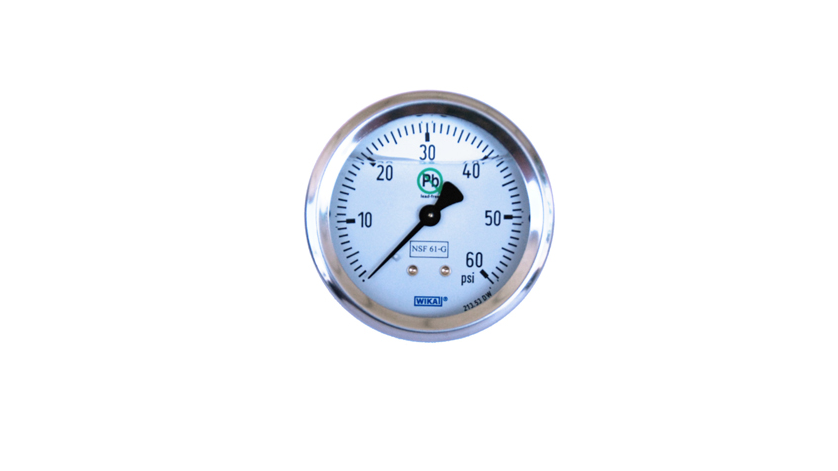
You can vent a WIKA liquid-filled gauge easily by turning the valve lever on the back of the device to the open position. Liquid-filled gauges are typically manufactured and shipped with the valve in the closed position.
Please note: The valve lever can remain open if the gauge is installed in an upright position (no periodic venting required). If you need to mount the gauge in a non-upright position periodic venting recommended. During periodic venting small amounts of liquids might escape due to pressure built up inside the case.
WIKA engineers have determined that temperature variations during shipment and in the process application often cause the liquid fill to expand and contract. These expansions and contractions change the pressure inside the sealed gauge case, which can reduce the accuracy of the device. In some cases, the pointer may not return exactly to zero until the gauge is vented to match local atmospheric pressure.
Initial Setup of Liquid-Filled Gauge
A ready-to-fill gauge should be set with the filling plug facing up at the top of the gauge. You can remove the filling plug with a flat-head screwdriver or similar instrument. Take your time and be careful not to damage the plug or the gauge internals. Note that the temperature of the liquid filling fluid should be no lower than 68⁰F (20⁰C) and no higher than 85⁰F (29⁰C).
Filling the Gauge
With a small metal or plastic funnel, fill the gauge until the liquid begins to fill the case. Take your time and allow the liquid filling to level off. Also note that extremely thick fluids (for example, glycerin at room temperature) flow very slowly into the case and sometimes back up through the filling hole during filling. Let the liquid settle at the bottom of the gauge, and then gradually continue filling. You may have to let the liquid level off a few times until the appropriate fill level has been reached.
WIKA recommends allowing the newly filled gauge to stand and fully settle for at least 10 minutes before you close up the gauge with the fill plug. It is important to remove any excess fluid on the outside of the gauge. Glycerin- or glycerin/water-filled gauges can be rinsed under warm (not hot) running water. Dry them completely before use or storage.Dry them completely before use or storage.
Learn more about how reliable liquid-filled gauges can save you time and money on WIKA’s FAQ page.